Tile Installation in Lubbock, From the Slab Up
Tile is rigid and the floor under it isn't, so good tile work is mostly about what sits between the two.
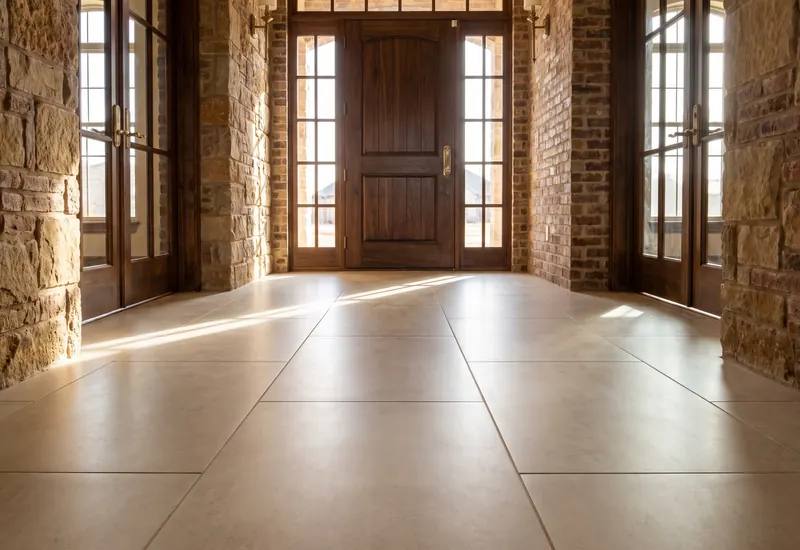
Tile installation covers floors, walls, showers and backsplashes, plus the prep that makes them last, and Giovanni Home Services installs all of it. A lasting job starts with a flat surface and a layout planned so cuts land where they look intended. Each tile then beds in full mortar, with flexible joints left where the floor needs to move.
Three things decide whether tile lasts
Tile itself almost never wears out, and porcelain will outlive the house. When a tile job fails, the cause is under it or around it. Three things matter most: a flat surface, full mortar contact, and room to move. Get those right and the rest is looks.
Flat comes first. For tile with any edge 15 inches or longer, the commonly cited standard allows only about 1/8 inch of variation over 10 feet. Most floors don't start that flat, and the fix is grinding and patching before tile, never a thicker bed of mortar.
Coverage and movement come next. The usual targets are mortar touching at least 80 percent of each tile, and 95 percent in wet areas. Every tile floor also needs soft joints at the walls, because without them the floor has nowhere to go when it expands.
What failing tile looks and sounds like
Tile lets you know when something underneath has gone wrong.
Tiles that sound hollow
Tap a tile with a coin. A hollow sound means mortar is missing underneath. That tile is carrying your weight on a few thin ridges, and sooner or later it cracks.
One crack across many tiles
A long crack that crosses tile after tile in a line is following a crack in the slab below. Replace those tiles without an isolation membrane and it comes right back.
Edges that catch your sock
Uneven tile edges, called lippage, come from a floor that was never flattened. Large tile makes it worse, and low sunlight across the floor points out every single raised edge.
Grout crumbling along the walls
Grout that breaks up at the edge of a room, or where tile meets a tub, is being squeezed. Those joints should hold flexible sealant and never hard cement grout.
Tiles lifting into a tent
Tiles that pop up into a peak mid-room ran out of space to expand. It tends to happen suddenly, often in a sunny room where the perimeter was grouted tight.
A backsplash that dates the kitchen
Sometimes nothing is broken at all. A backsplash is a small area with a big effect on the room, and it ranks among the quickest tile projects to plan and finish.
Prep first, pattern second, tile third
By the time tile goes down, most of the job is already done.
Check the surface
The first job is knowing what the tile will sit on: slab, plywood, backer board or old tile. A 10 foot straightedge shows the highs and lows. Cracks get mapped, and a bouncy wood floor gets stiffened before tile goes near it.
Flatten and repair
High spots are ground down, and low spots are filled with patch or self-leveling underlayment. It's dusty, unglamorous work, and it decides how the finished floor looks when sunlight rakes across it late in the day. We contain the dust and take the time.
Membranes where they belong
Over slab cracks, a crack isolation membrane lets the concrete move without the crack printing through your tile. Wet areas such as showers get waterproofing behind the tile. Not every floor needs a membrane, and your proposal says which areas do and why.
Dry layout
The pattern gets laid out before any mortar is mixed. A good layout has balanced cuts at both walls, no thin slivers at a doorway, and grout lines centered on whatever the eye finds first, such as a tub, window or range.
Set, grout, and seal
Mortar is combed in one direction and large tiles are back-buttered, then pressed until the ridges collapse. Lifting one now and then is how coverage gets checked. Grout fills the field. Perimeters and corners get color-matched flexible sealant, then everything cures.
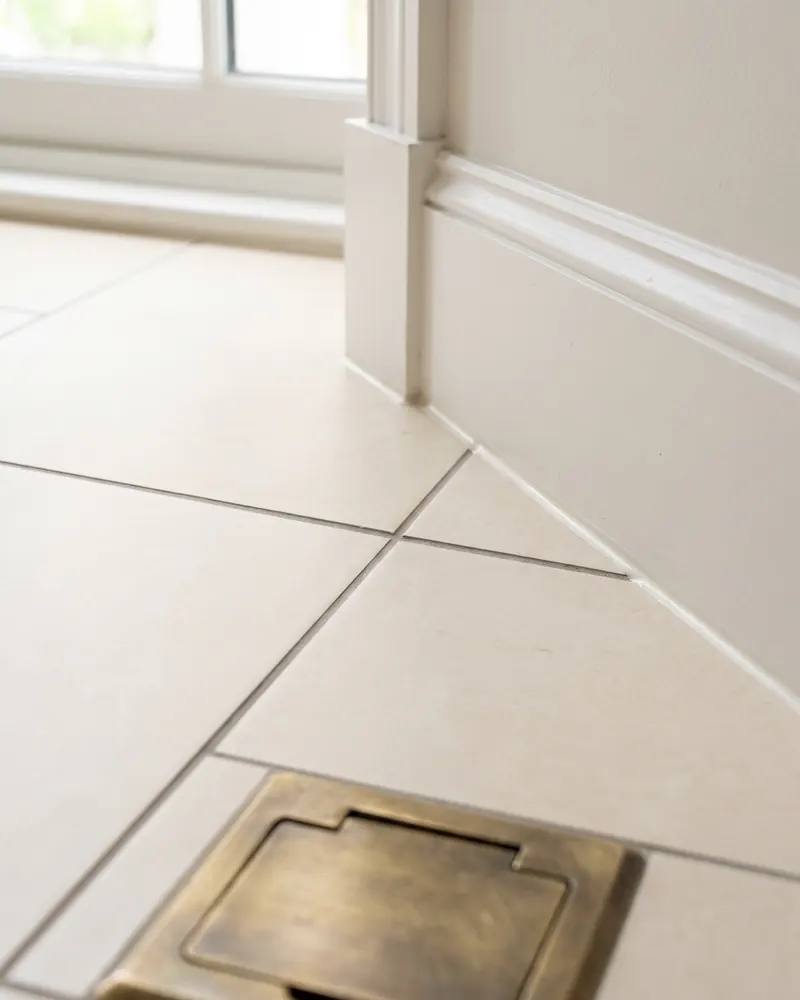
How a tile schedule breaks down
Tile time depends on area, pattern and prep, so here are the typical stages in place of day counts. The proposal for your job carries the actual dates.
- Stage 1Protection for nearby rooms, removal of old flooring, and a close look at the slab or subfloor.
- Stage 2Grinding, patching, leveling and any membranes, each given the cure time that its product needs.
- Stage 3Layout and setting. Simple grids move quickly. Herringbone, mosaics and inlays don't, and shouldn't.
- Stage 4Grout, flexible sealant at edges and corners, cleanup, and cure time before furniture comes back.
Prep is the wild card. A floor that needs heavy flattening can take longer to get ready than to tile.
Porcelain, ceramic, stone, and the grout between
Porcelain is the workhorse. It's dense, hard to stain and fine in a shower. Ceramic is softer and easier to cut, which suits walls and backsplashes. Natural stone is beautiful, and it needs sealing and care. Glass and mosaic bring color in small doses.
Size changes the job. Large tile gives a calm look with few grout lines, but it demands a flatter floor and more prep. Small tile follows a slope, which is why shower floors use it. Our past work includes a glass and stone mosaic backsplash and a hex tile entry with an inlaid wood transition.
- Large format tileFewer grout lines and a clean, quiet floor. It needs the flattest surface and the most prep, and any lippage shows. A poor match for a wavy slab.
- Natural stoneNo two pieces match, which is the appeal. It's porous, wants sealing, and can etch from acidic cleaners. Over wood framing it needs a stiffer floor than porcelain.
- Sanded or unsanded groutAs a general rule, unsanded grout suits joints under 1/8 inch and sanded is for wider ones. Check the bag, because the wrong grout either scratches the tile or shrinks and cracks.
- Epoxy groutIt resists stains and needs no sealer, which helps behind a range or inside a shower. It sets fast and is unforgiving to install, so it adds labor.
What's in a tile job, and what's handled separately
A typical scope covers
- Removal of old tile or flooring
- Flattening and substrate repair
- Crack isolation or waterproofing where needed
- Layout reviewed with you before setting
- Tile, grout and movement joints
- Transitions to adjoining floors
Planned and priced separately
- Plumbing moves, done by a plumber under permit
- Slab or foundation structural repair
- Asbestos testing on old flooring
- Shower glass, measured after tile is finished
Tile jobs range from one backsplash to a whole house. The written proposal names the areas, the prep and the materials.
Tile over a Lubbock slab, in Lubbock sun
Sunny floors need movement joints closer together, and Lubbock has no shortage of sun.
Trade guidance commonly puts movement joints every 20 to 25 feet indoors, and every 8 to 12 feet where tile sits in direct sun. With big south and west windows, and days that swing from cool mornings to hot afternoons, that tighter spacing applies to more rooms than you might expect.
Many local homes are built on concrete slabs, and concrete cracks. USDA describes the area's soils as loamy and well drained, with a hard caliche layer typically 30 to 60 inches down. Nobody can guess how a slab will move, so the sound approach is to isolate the cracks that show and leave joints for the rest. Tile is finish work, so it needs no building permit here.

Common questions about tile Installation
Can you tile over my existing tile?
Sometimes, if the old floor is sound. The old tile has to be stuck down solid, flat, and free of cracks, and the added height has to work at doors, appliances and transitions. If any of it sounds hollow, or the floor already has lippage, tiling over it copies the problem. Showers are different. Old shower tile comes out, because the waterproofing underneath can't be checked any other way.
Why did my old tile crack in a straight line?
A straight crack across several tiles is almost always a crack in the concrete below showing through. Tile set directly on a slab moves with it, so when the slab cracks, the tile does too. The repair is to remove the affected tile, put a crack isolation membrane over the slab crack, and reset. New tile alone will crack in the same place.
What are movement joints, and will I see them?
They're joints filled with flexible sealant instead of hard grout, and you'll rarely spot them. They go around the perimeter of the room, at changes of plane, and across large floors at set spacing, and they let tile expand without tenting or cracking the grout. Perimeter joints hide under baseboard. Field joints are color matched and lined up with the pattern, so most people never notice them.
Is large format tile harder to install?
Yes. Big tile bridges across dips and humps, so the floor has to be much flatter than it does for small tile. Each piece needs mortar on the floor and on its back, and edges have to be held even while the mortar cures. None of that should put you off large tile, but expect to see more prep in the proposal.
How do you handle the spot where tile meets wood?
We plan it before either floor goes in. The two materials are different thicknesses, so one side gets built up until the surfaces meet flush. Wood flooring still needs a small gap to move, which a flexible joint or a transition strip covers. Done with care, like a tile inlay set into a hardwood entry, the transition can be the best-looking part of the floor.
Have a tile project in mind?
Book a consultation. We'll look at the room with you and talk through what the tile is going over.